Getting Employee Receipts Into QuickBooks and Xero With CSV Exports
Use a careful receipt-to-CSV workflow for employee expenses. Learn what Yomio Business Mode does and where QuickBooks or Xero import checks remain necessary.

Alex Chen
Product Manager & Personal Finance Advocate
Getting Employee Receipts Into QuickBooks and Xero With CSV Exports
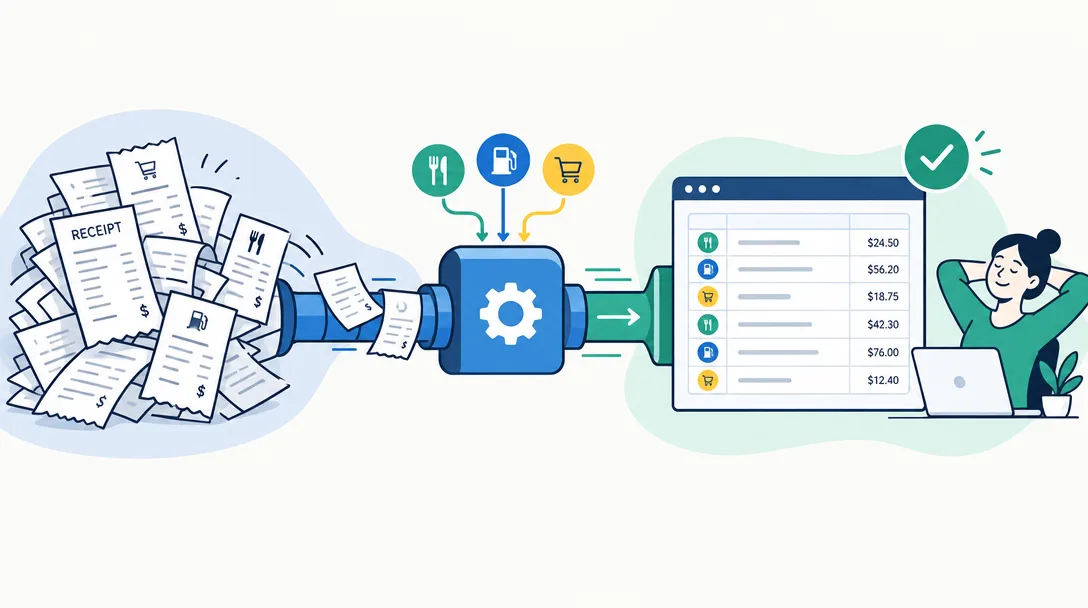
Yomio Business Mode can collect team expense records and export them as CSV files for a bookkeeping workflow. You must review the file and import or enter the data in QuickBooks or Xero yourself; Yomio does not provide a live accounting connection.
A dependable process separates receipt capture, record review, export, and accounting entry. The steps below explain where to check details so an export does not become an unchecked source of bookkeeping errors.
What Yomio Business Mode supports
Team members can record expenses from receipt capture or manual entry. Receipt processing can extract receipt fields and line items, but you should review the result before using it in accounting records. Business Mode also supports an optional approval step and CSV export.
Business Mode can send scheduled weekly or monthly team expense reports. These are report emails; they are not scheduled QuickBooks or Xero exports.
Yomio does not connect directly to QuickBooks or Xero, post transactions, reconcile bank statements, determine tax treatment, or guarantee that a CSV matches a chart of accounts.
Step 1: Agree on what employees should submit
Write a short team policy that explains which expenses need a record, what supporting documents to include, and who reviews submissions. Keep tax and reimbursement rules separate from the app's categories. A category helps organize a record; it does not prove that the expense is deductible or reimbursable.
Ask employees to submit the receipt image when one is available. For a purchase without a receipt, enter the amount, date, merchant or payee, currency, and business purpose using the fields available in the workflow. Keep any other evidence required by your policy or local rules.
Step 2: Check each record before export
The person reviewing an expense should compare the entry with its receipt or other supporting record. Check the merchant, date, amount, currency, line items, category, and business purpose. Correct missing or misread values before exporting.
For a team that uses approval, configure the rule that applies and review pending records before export. Approval records that a reviewer accepted an entry under your process; it does not establish tax eligibility or accounting accuracy.
Step 3: Export a CSV and review its columns
Export the period or records you need from Business Mode. Open the CSV in a spreadsheet and check that the fields and values match your bookkeeping workflow. Do not assume a category name, date format, currency field, or receipt attachment maps automatically to an account in your accounting software.
Keep the exported file with the related period and note who reviewed it. Avoid changing the source record and the export independently without a reconciliation step, because the two copies can drift.
Step 4: Use the current import instructions for your accounting product
QuickBooks Online supports imports for several types of data, and its import requirements depend on the type of record. Its current QuickBooks import guide lists supported import objects and file formats. Review the instructions for the specific expense or transaction workflow you plan to use.
Xero also supports imports for selected records in specific formats. Its current Xero data import guide lists the supported items and file formats. A CSV file is not automatically compatible just because both systems accept CSV files; column names and required fields matter.
Before using the workflow for a full period, test a small set of records in the correct company and account. Review the import result, identify duplicates, and compare totals with the source records. Follow the current accounting-product instructions for matching, categorizing, and reconciling transactions.
Keep the accounting record complete
Store the original receipt or other supporting document with the record when required. The IRS describes business expense substantiation and recordkeeping in Publication 463; requirements depend on the expense and taxpayer's circumstances. Businesses outside the United States should use the rules that apply in their jurisdiction.
A CSV export is a transfer file, not a permanent audit trail by itself. Keep a clear link between each imported accounting entry and the original expense record, and document corrections made after export.
Tip
Set up your Yomio categories to mirror your QuickBooks/Xero chart of accounts and vendor list first. A 15-minute mapping exercise upfront prevents import rejections and re-export cycles later.
Common workflow questions
Does Yomio connect directly to QuickBooks or Xero?
No. Yomio exports CSV data for a separate workflow; it does not sync records through a live connection.
Does Business Mode send CSV exports on a schedule?
Business Mode supports scheduled weekly or monthly expense report emails. Those report emails are separate from exporting a CSV file.
Does Yomio decide which expenses are deductible?
No. Use the app to organize expense information, then apply the relevant tax rules with a qualified adviser or official guidance.
Will every Yomio CSV import without changes?
Do not assume that it will. QuickBooks and Xero have import requirements that vary by record type and setup. Check the current instructions, map the columns, and test a small batch before relying on the process.
Collect team receipts before bookkeeping
Use Business Mode to gather expense records, review submissions, and export CSV data for the accounting workflow your team already uses.
Explore Business Mode