Getting Started
Create your account and set up biometric authentication
Email Sign-Up
1
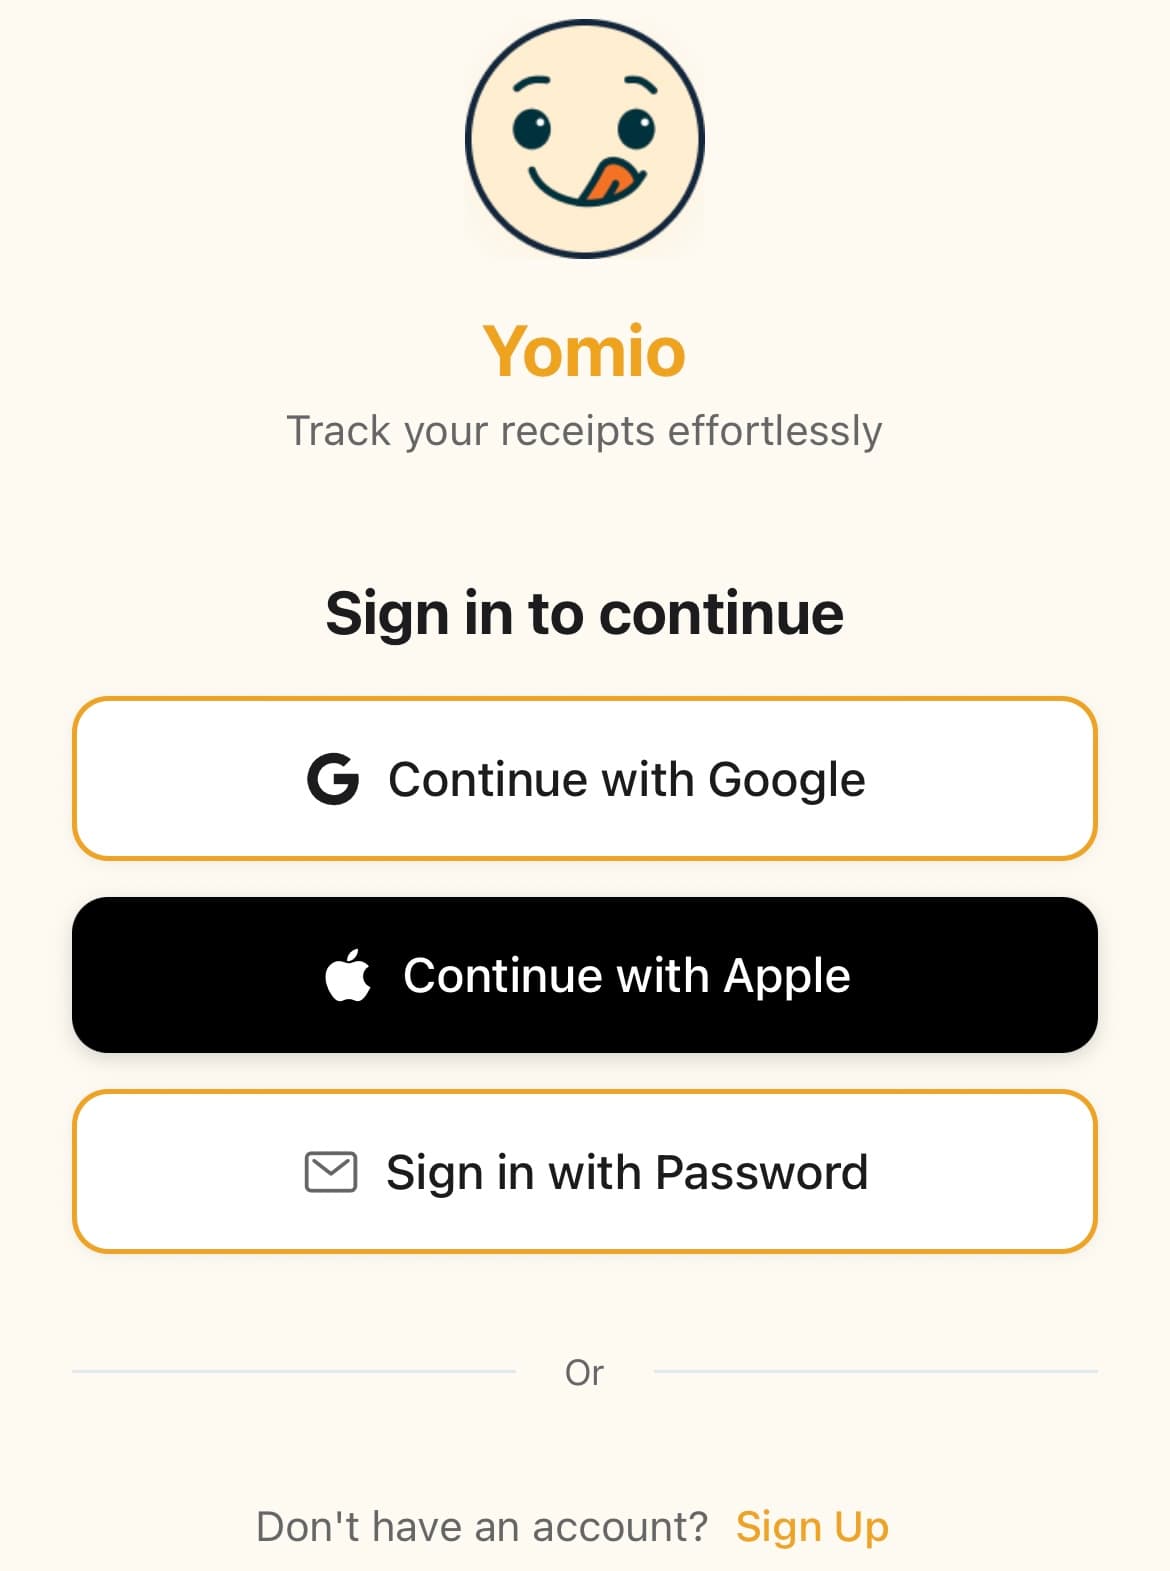
Open the app or web page
Launch Yomio on your mobile device or visit the website
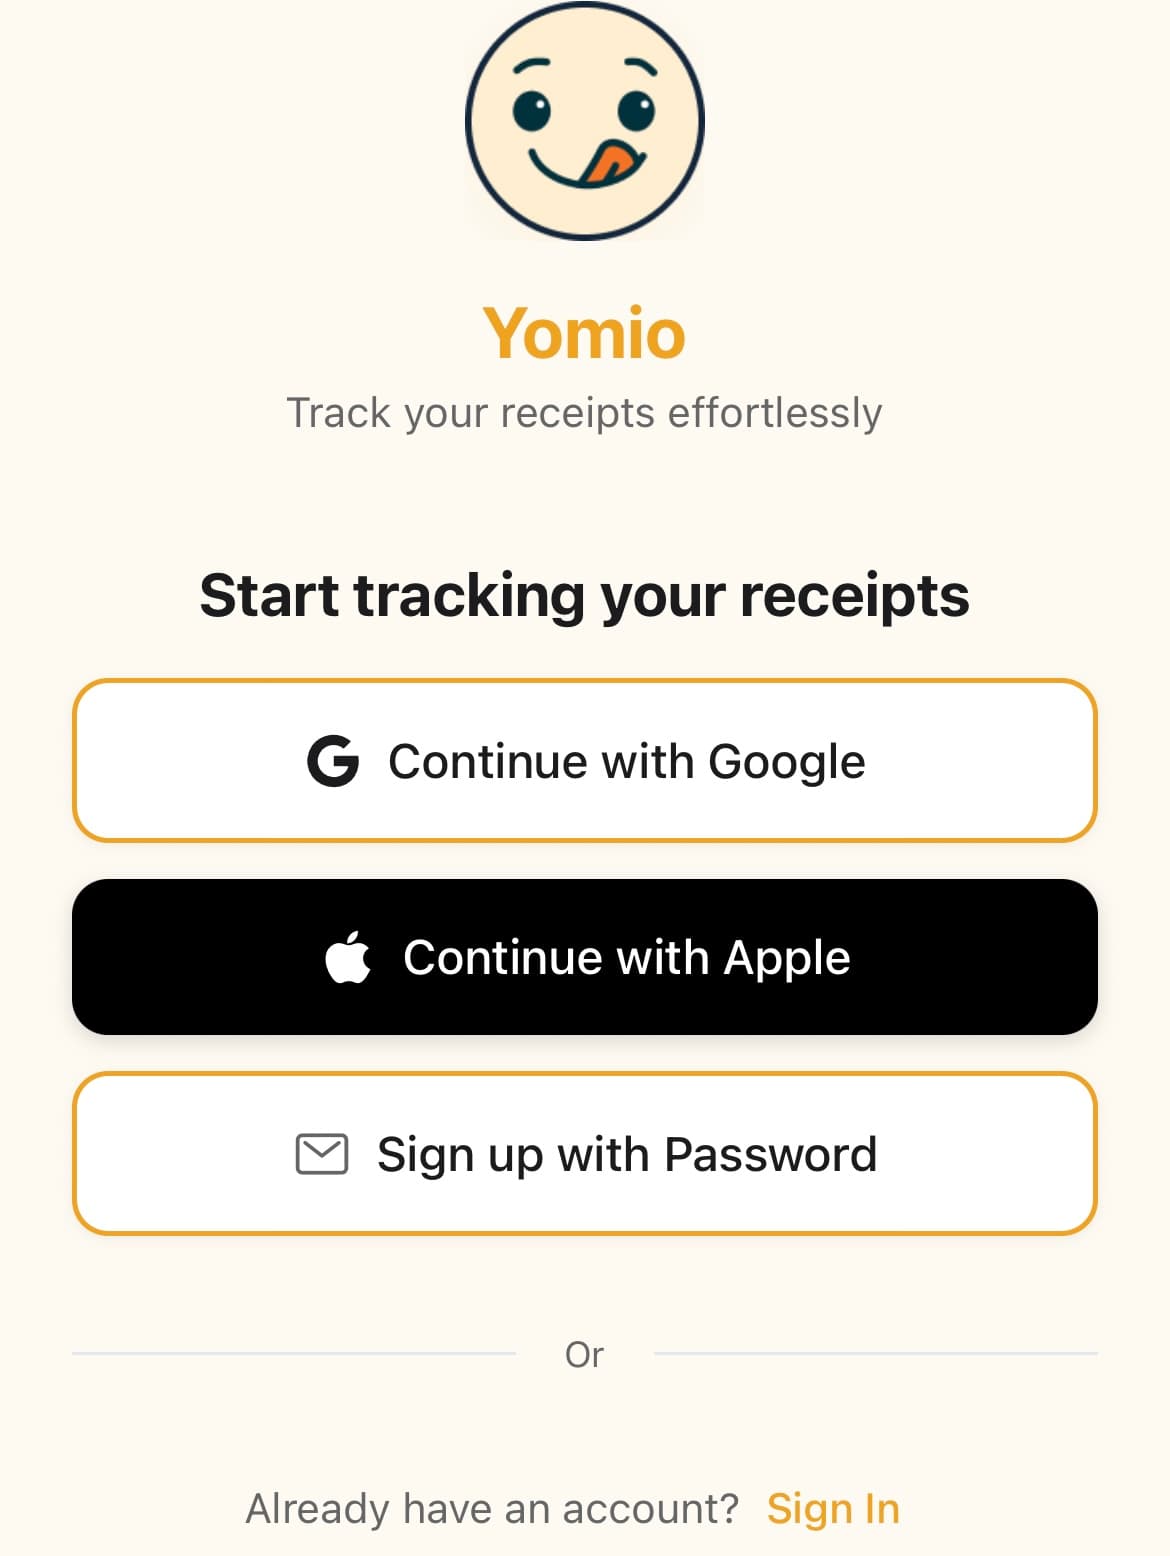
2
Tap 'Sign Up'
Look for the sign up button on the welcome screen
3
Select 'Sign up with Password'
Choose the email option
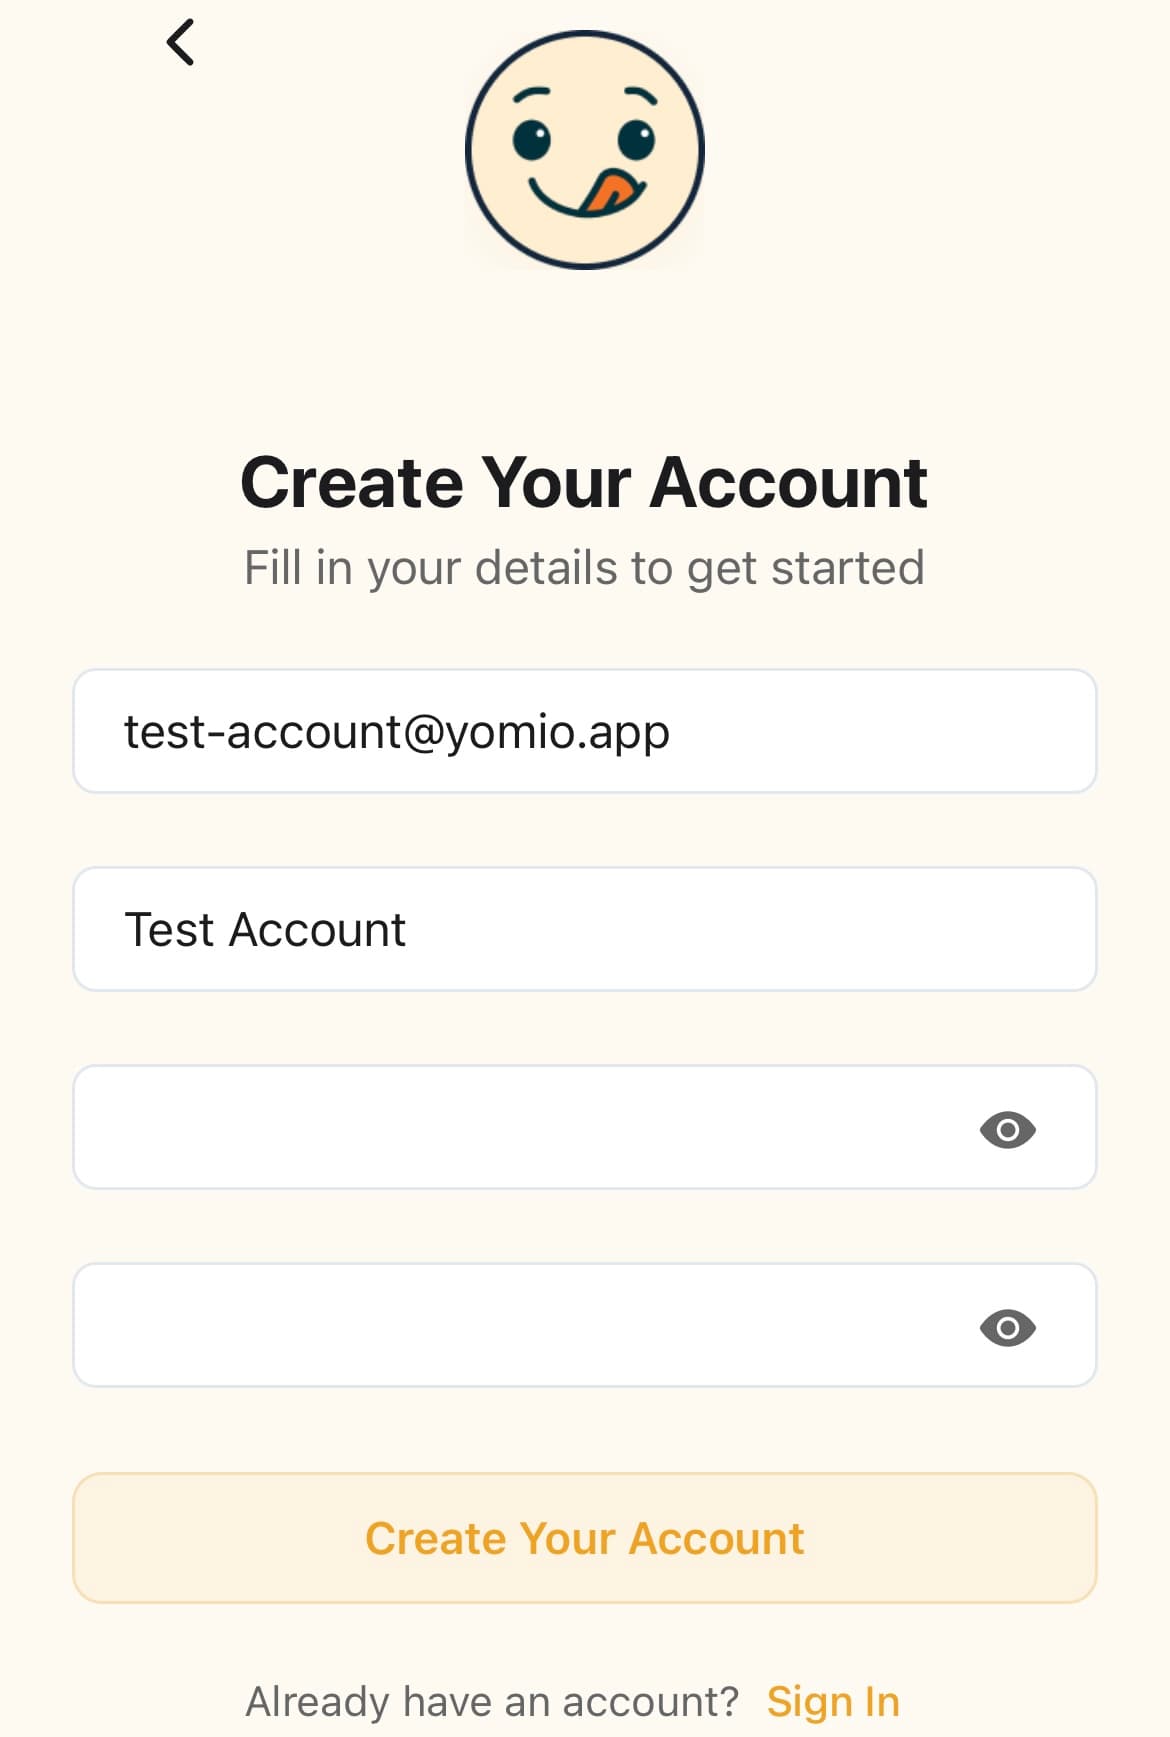
4
Enter your details
Provide your email address and create a strong password
5
Set your preferences
Choose your preferred currency and language (optional)
6
Tap 'Create Account'
Confirm and create your account
✅Password Tips
- • Use a mix of uppercase and lowercase letters
- • Include numbers and special characters
- • Make it at least 8 characters long
- • Avoid using easily guessable information
Email Verification
After signing up with email, you'll need to verify your email address to activate your account.
1
Check your email
Look for an email from Yomio with a verification code
2
Enter the code
Copy the 6-digit code from the email
3
Verify in the app
Paste or type the code in the verification screen
4
You're verified!
Your account is now fully activated
⚠️Didn't Receive the Code?
- • Check your spam or junk folder
- • Wait a few minutes and check again
- • Tap "Resend Code" in the app if needed
- • Contact support if you don't receive it after 15 minutes
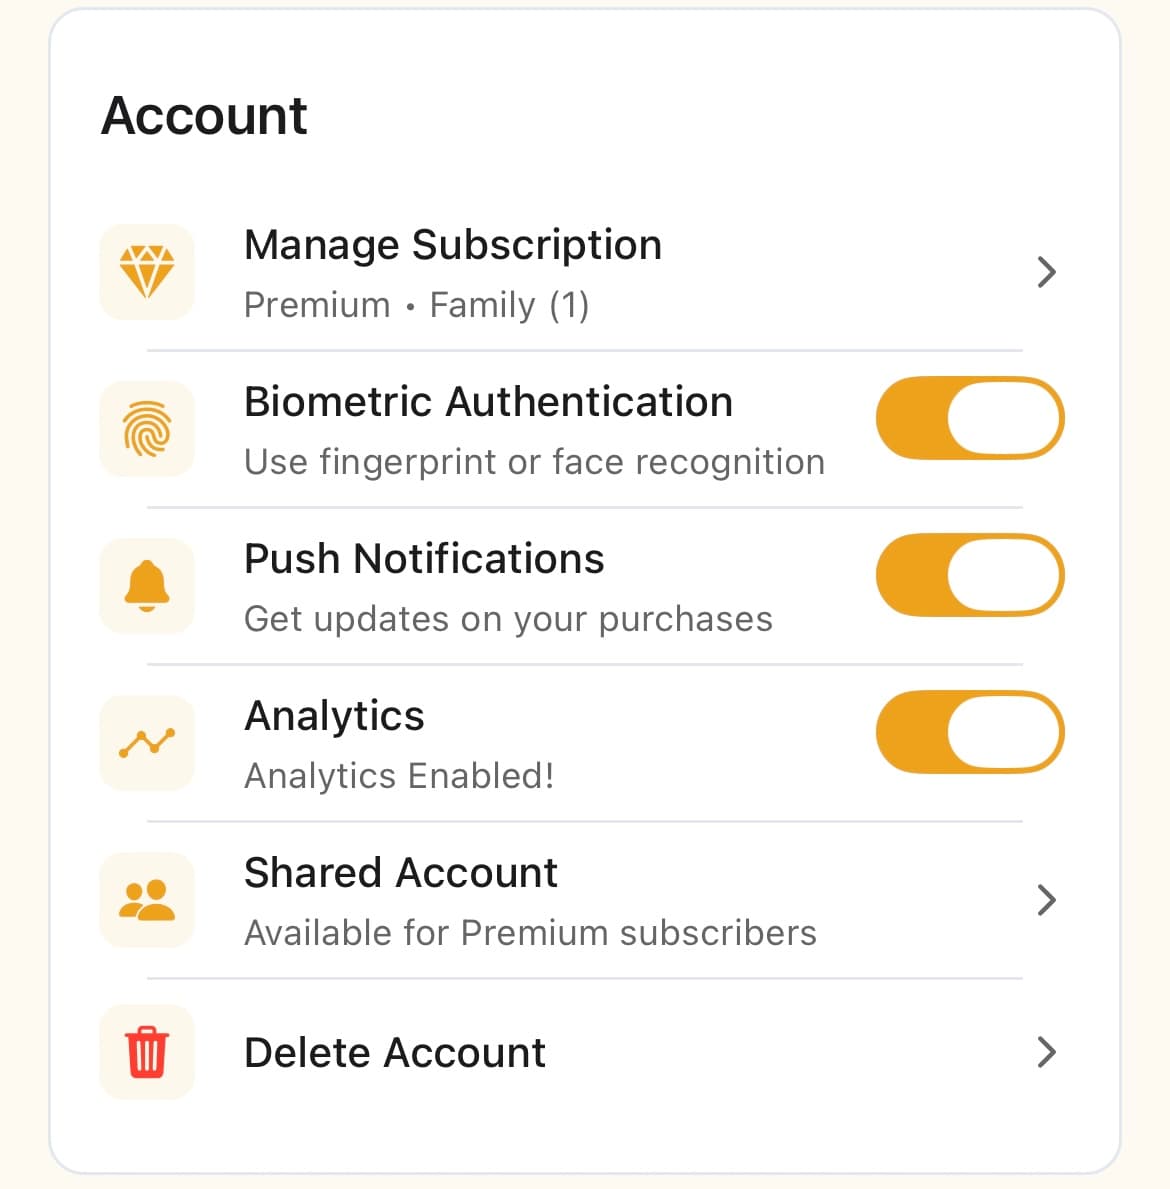
Biometric Authentication
Set up fingerprint or face recognition for quick, secure access to your account.
1
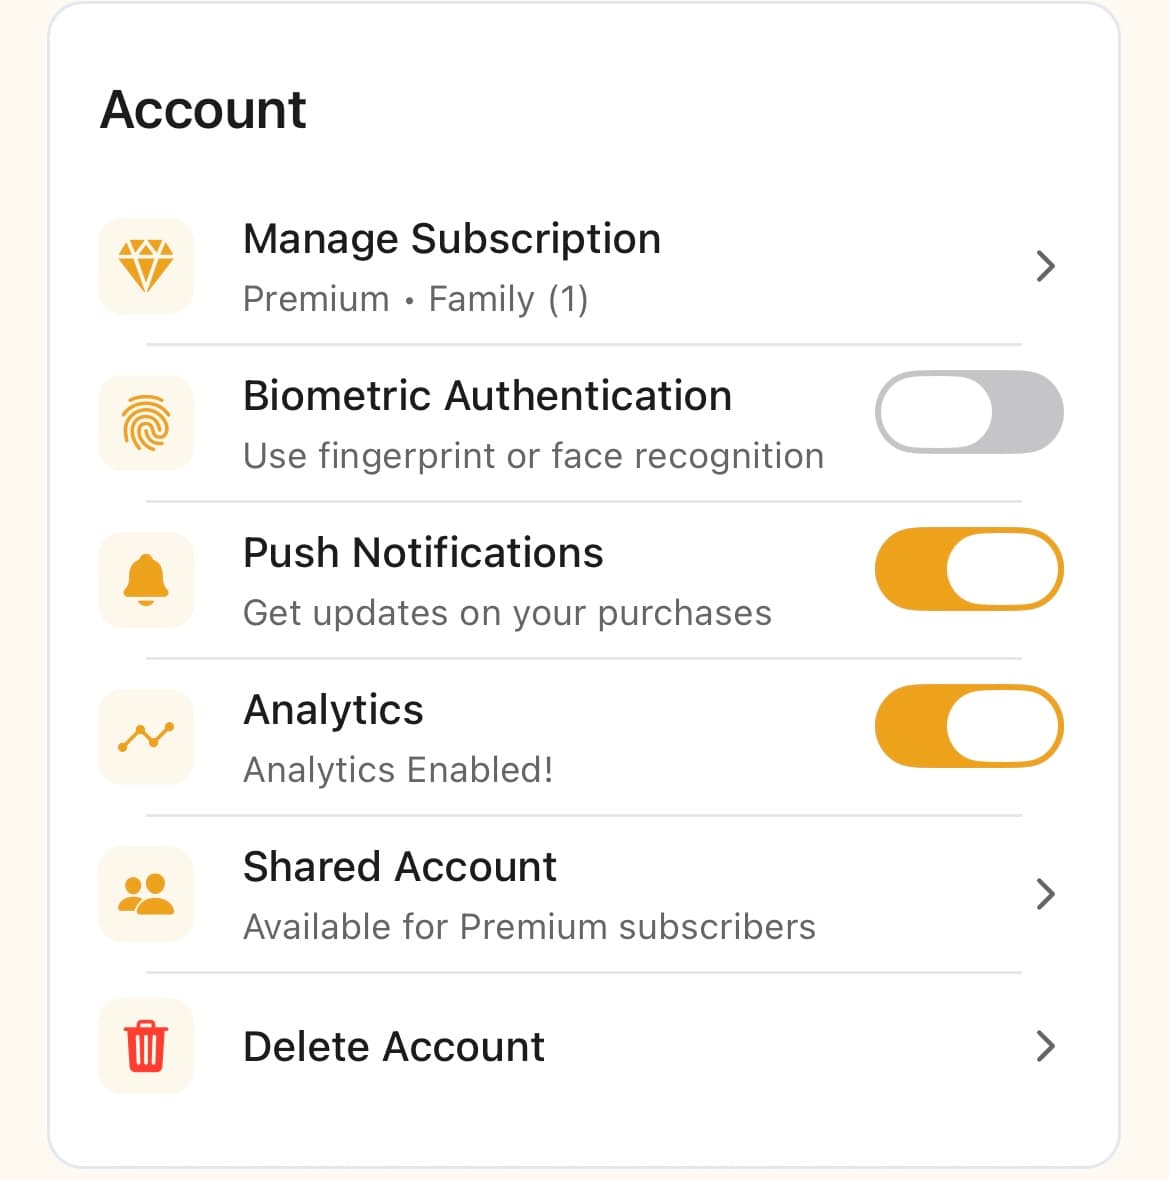
Go to Account Settings
Tap your profile icon → Settings
2
Find Security Settings
Locate the "Biometric Authentication" section
3
Enable biometric sign-in
Toggle "Enable Biometric Sign-In" to ON
4
Authenticate
Use your fingerprint or face ID to confirm
5
You're ready
Next time you open the app, biometric auth will be available
✅When to Use Biometric
- • First time on a new device
- • Daily opening and closing
- • When you need quick access
- • If biometric is available on your device
Your First Receipt Scan
Ready to start tracking? Here's how to scan your first receipt:
1
Tap the Camera icon
On the home screen, look for the camera or "Scan Receipt" button
2
Take a photo
Center your receipt in the frame and snap a clear photo
3
Let AI analyze it
Yomio automatically extracts merchant, date, items, and total
4
Review and edit
Check the extracted information and make any corrections
5
Add categories
Assign categories to items (groceries, fuel, dining, etc.)
6
Save
Tap save and it's added to your purchase history
✅Tips for Best Results
- • Ensure good lighting and clear focus
- • Frame the entire receipt in view
- • Keep the receipt flat and straight
- • Avoid shadows and glare
- • Avoid capturing faded receipts
💡What's Next?
- • Continue scanning more receipts
- • Check out the Analytics dashboard to see spending patterns
- • Explore the Managing Purchases guide for editing tips
- • Consider Premium for unlimited scans and exports
Social Sign-In
Sign in quickly with your existing Google or Apple account.
Google Sign-In
Tap 'Continue with Google'
Select your Google account
You're in!
Apple Sign-In (iOS)
Tap 'Continue with Apple'
Authenticate with Face ID or Touch ID
You're all set!
💡Social Sign-In Benefits