Getting Started
Create your account and set up biometric authentication
电子邮件订阅
1
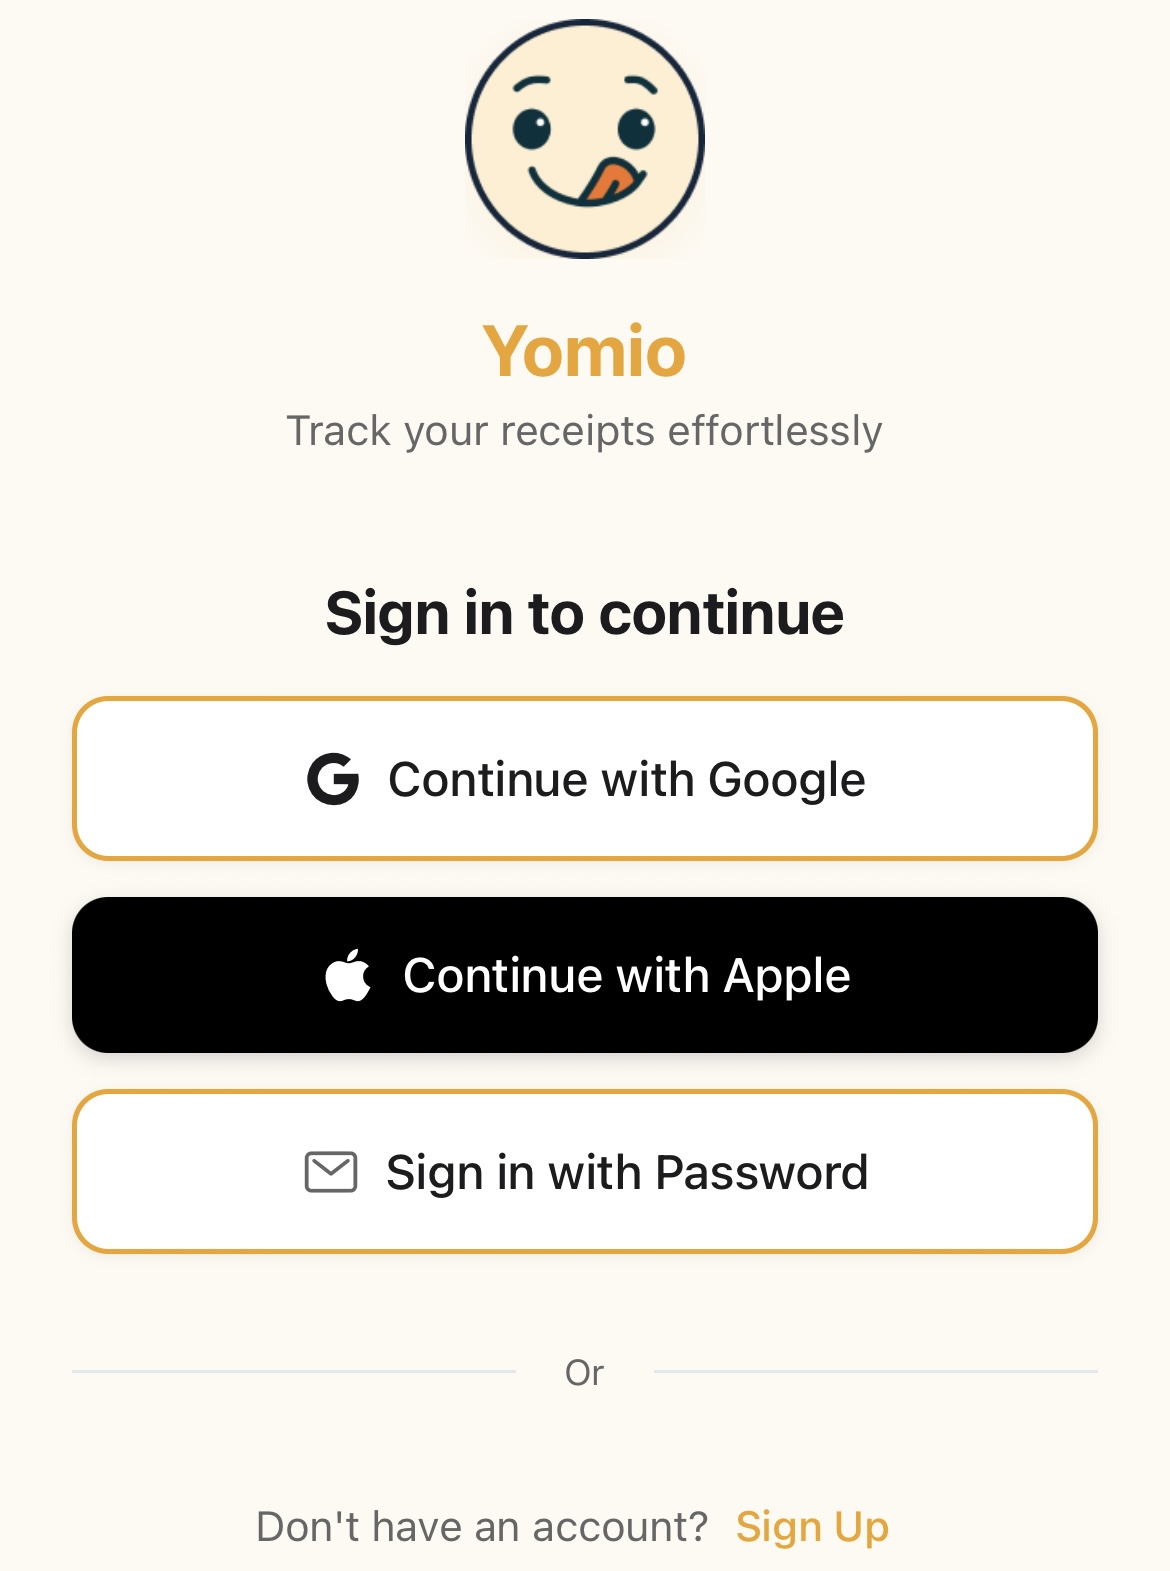
打开该应用或网页
Launch Yomio on your mobile device or visit the website
2
点击“注册”
请在欢迎界面上查找“注册”按钮
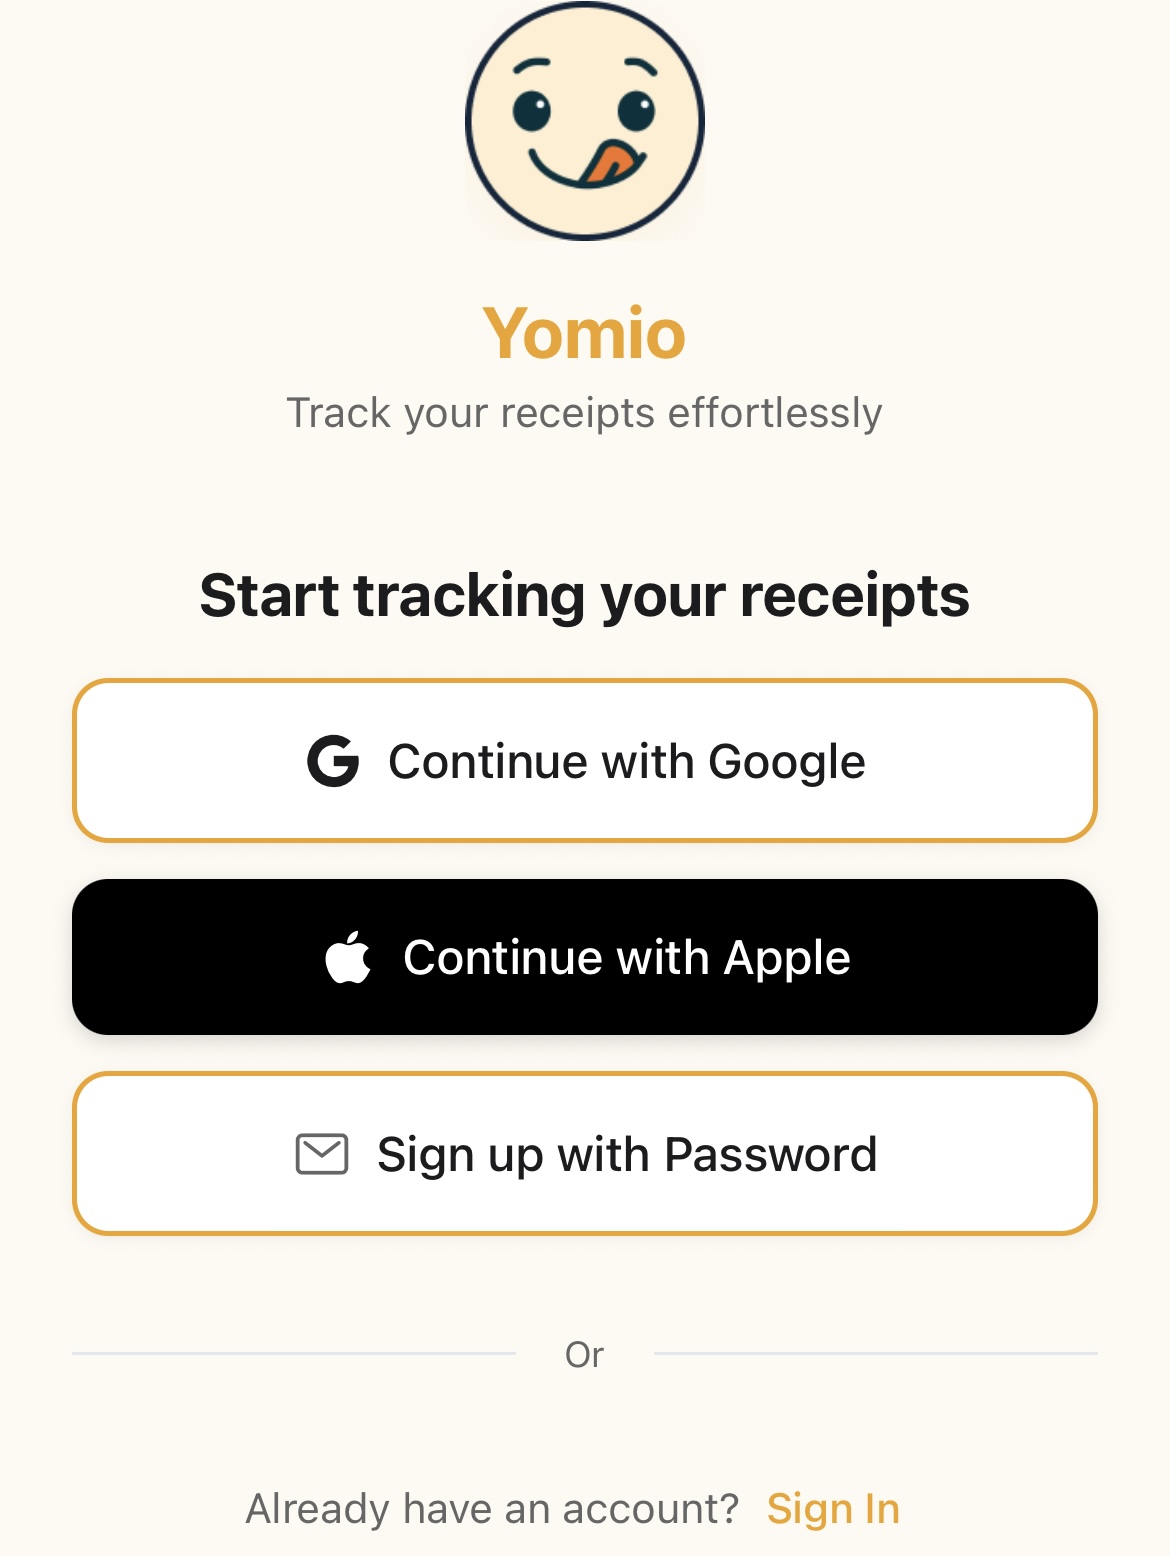
3
Select 'Sign up with Password'
选择电子邮件选项
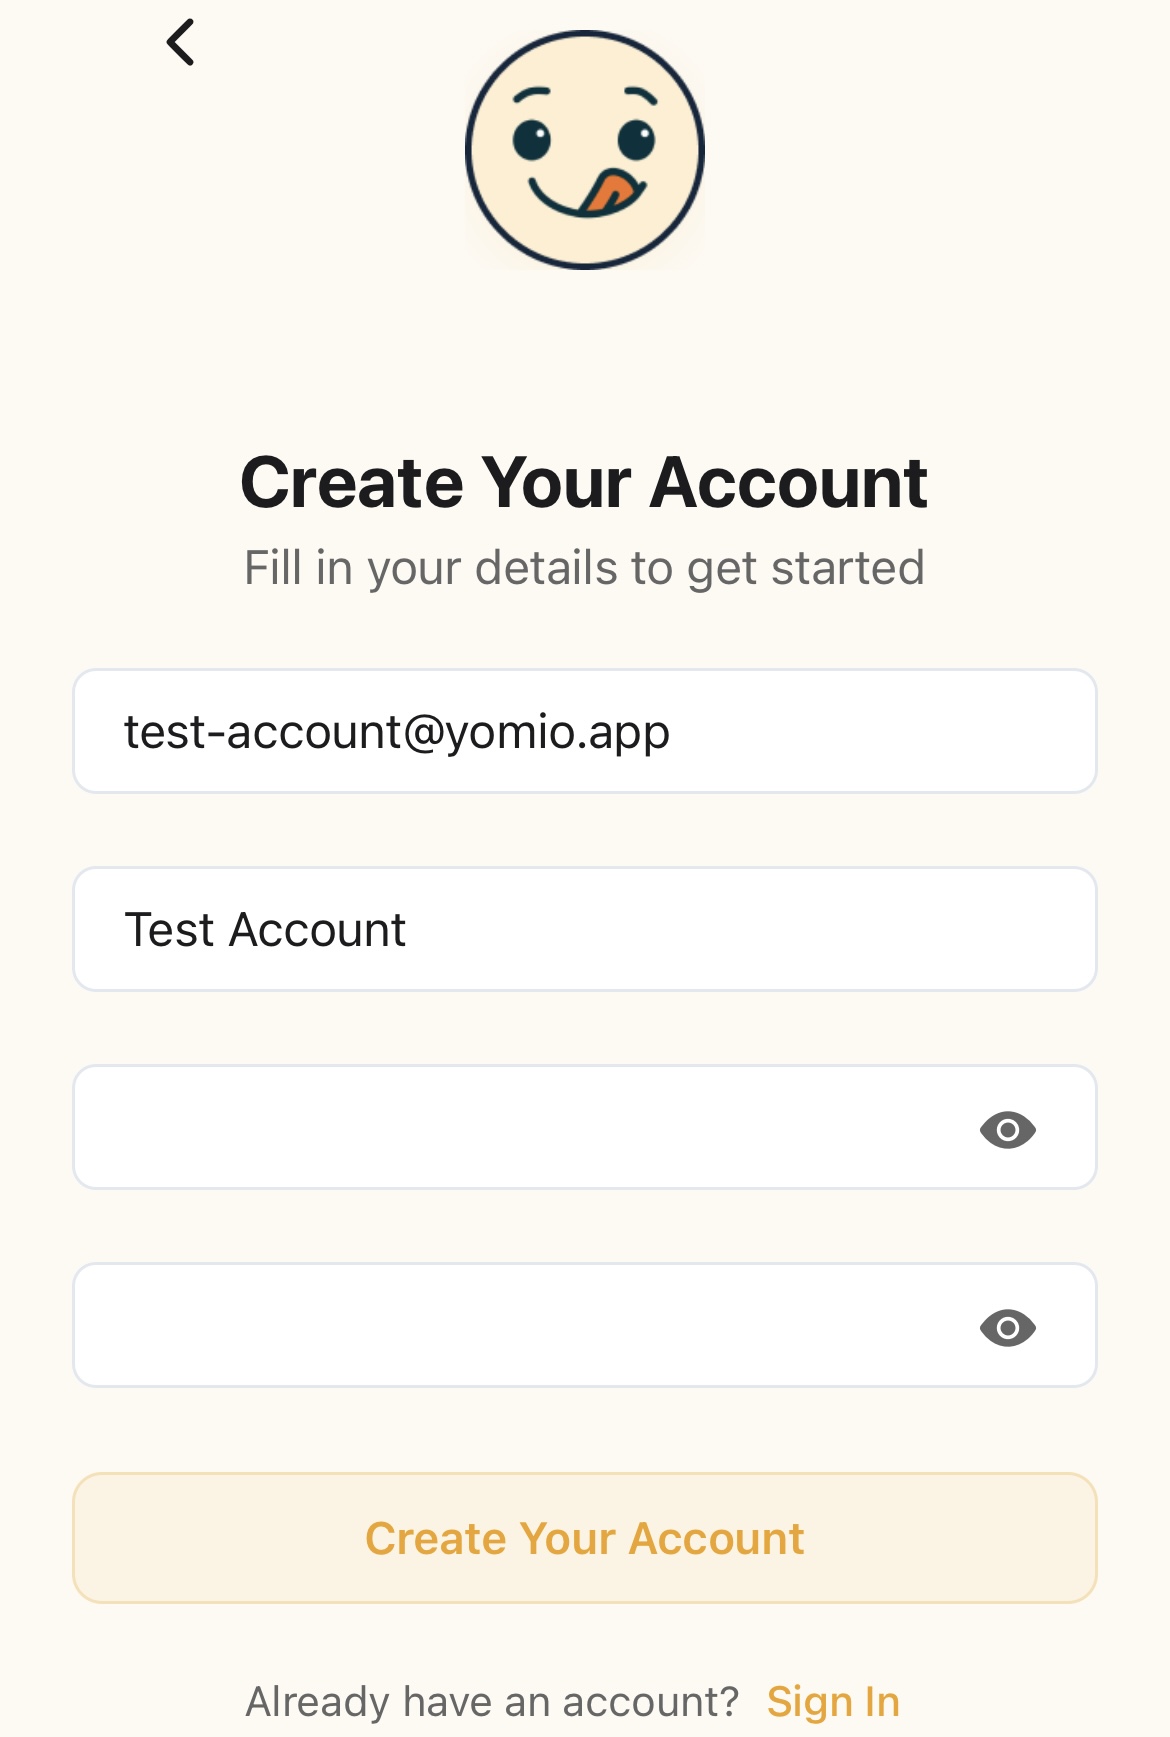
4
请输入您的详细信息
Provide your email address and create a strong password
5
验证您的电子邮件
Enter the 6-digit verification code sent to your email
6
完成入职流程
完成 5 个步骤的入门指南:欢迎、文档扫描简介、洞察预览、偏好设置(货币和语言)以及 Copilot 介绍
✅密码提示
- • 请混合使用大写和小写字母
- • Include numbers and special characters
- • 长度至少为8个字符
- • 避免使用容易被猜到的信息
电子邮件验证
使用电子邮箱注册后,您需要验证您的电子邮箱地址以激活您的账户。
1
请查看您的电子邮件
Look for an email from Yomio with a verification code
2
输入代码
Copy the 6-digit code from the email
3
在应用中验证
在验证界面中粘贴或输入代码
4
You're verified!
您的账户现已完全激活
⚠️没收到验证码?
- • 请检查您的垃圾邮件或垃圾文件夹
- • 请稍等几分钟,然后再试一次
- • 如有需要,请在应用中点击“重新发送验证码”
- • Contact support if you don't receive it after 15 minutes
生物识别认证
设置指纹或面部识别功能,以便快速、安全地访问您的账户。
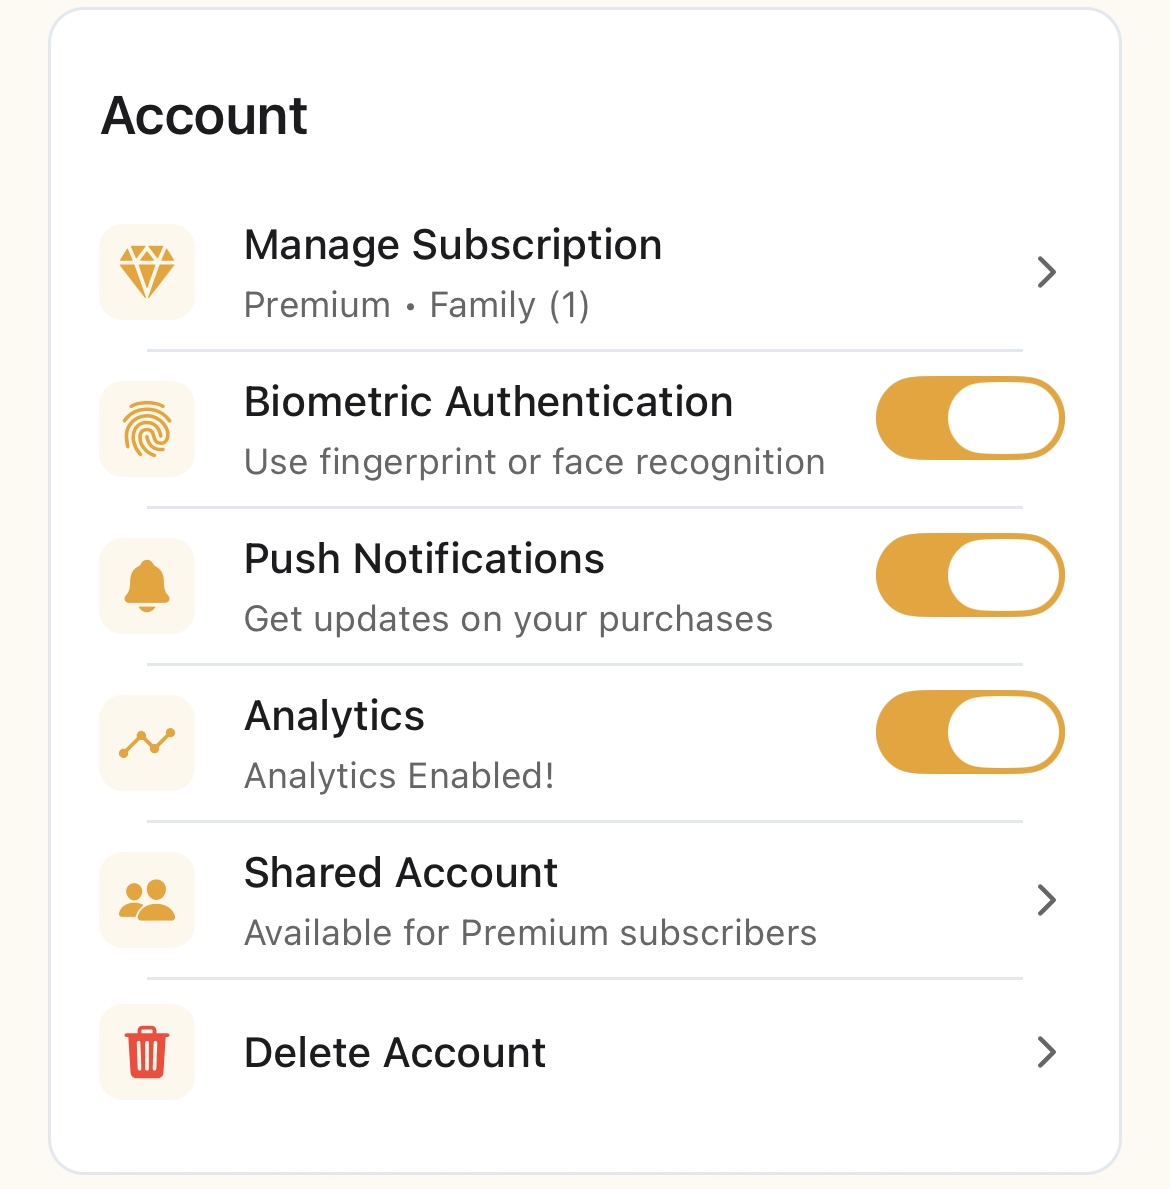
1
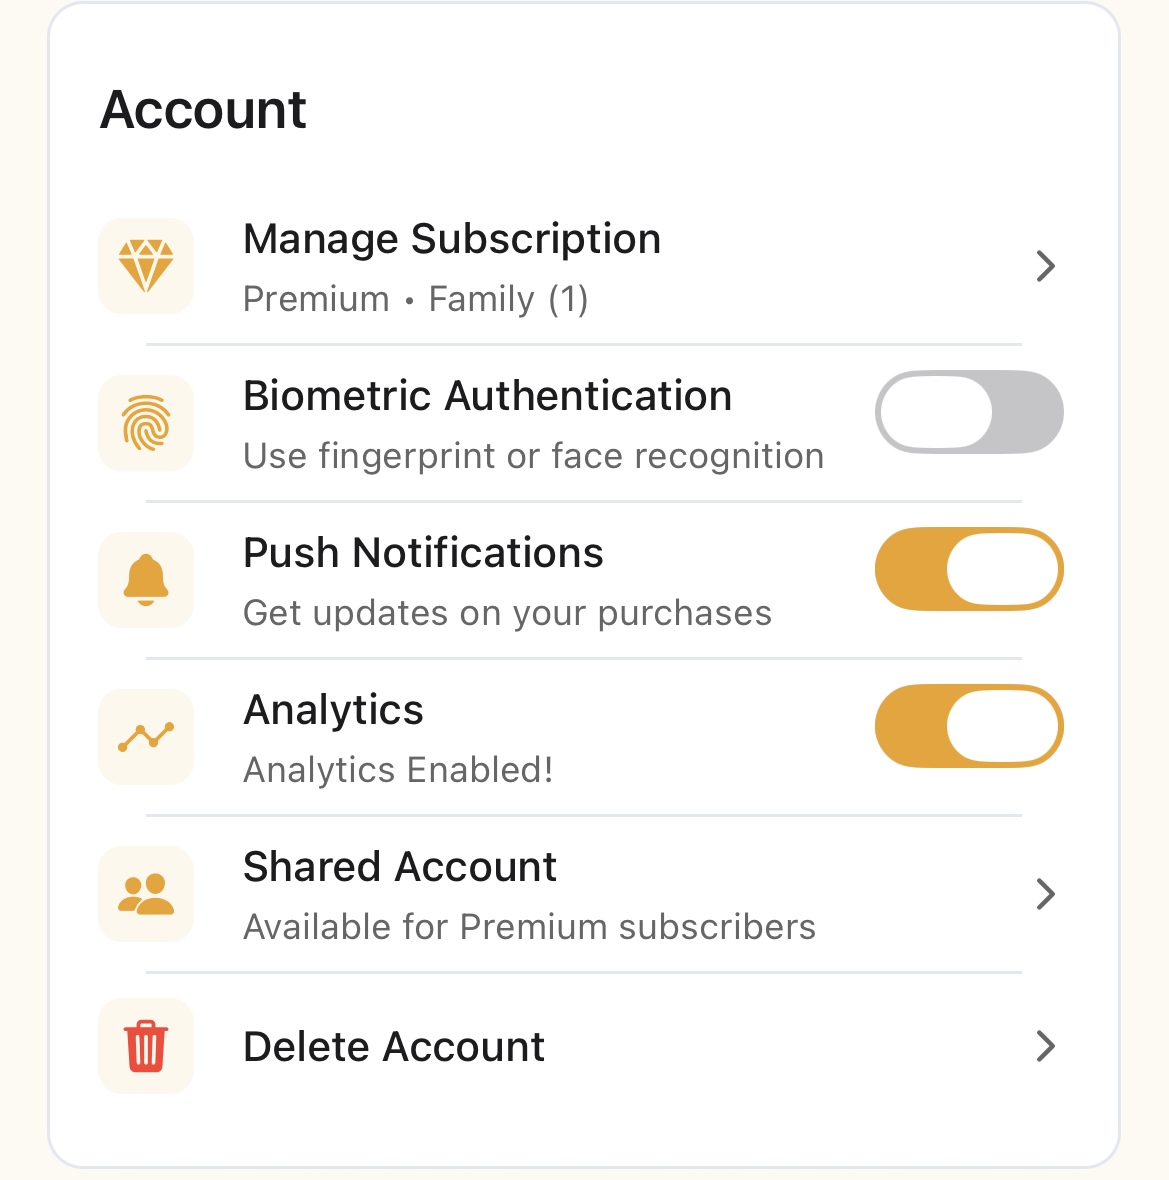
转到“账户设置”
Tap your profile icon → Settings
2
查找安全设置
Locate the "Biometric Authentication" section
3
启用生物识别登录
将“启用生物识别登录”切换为“开”
4
Authenticate
使用指纹或面部识别进行确认
5
你准备好了
Next time you open the app, biometric auth will be available
✅何时使用生物识别技术
- • 在新设备上的首次使用
- • 每日开盘和收盘
- • 当您需要快速访问时
- • If biometric is available on your device
您的首次收据扫描
准备好开始记录了吗?以下是如何扫描第一张收据:
1
点击“相机”图标
在主屏幕上,找到相机图标或“扫描收据”按钮
2
拍张照片
将收据置于相框中央,并拍摄一张清晰的照片
3
Let AI analyze it
Yomio 自动提取商家、日期、商品和总计
4
审阅和编辑
检查提取的信息并进行更正
5
Add categories
为各项开支分配类别(食品杂货、燃油、餐饮等)
6
保存
Tap save and it's added to your purchase history
✅获得最佳效果的小贴士
- • 确保光线充足且对焦清晰
- • 将整张收据纳入画面
- • Keep the receipt flat and straight
- • 避免阴影和眩光
- • 请勿拍摄褪色的收据
💡接下来会怎样?
- • 继续扫描更多收据
- • Check out the Analytics dashboard to see spending patterns
- • 请查阅《采购管理指南》以获取编辑技巧
- • Consider Premium for unlimited scans and exports
社交账号登录
使用您现有的 Google 或 Apple 账户快速登录。
Google 登录
Tap 'Continue with Google'
请选择您的 Google 账户
你通过了!
Apple 登录 (iOS)
Tap 'Continue with Apple'
Authenticate with Face ID or Touch ID
一切就绪!
💡社交账号登录的优势